October 8, 2025
Cleaning Tips for Pre-War & Historic New York Buildings
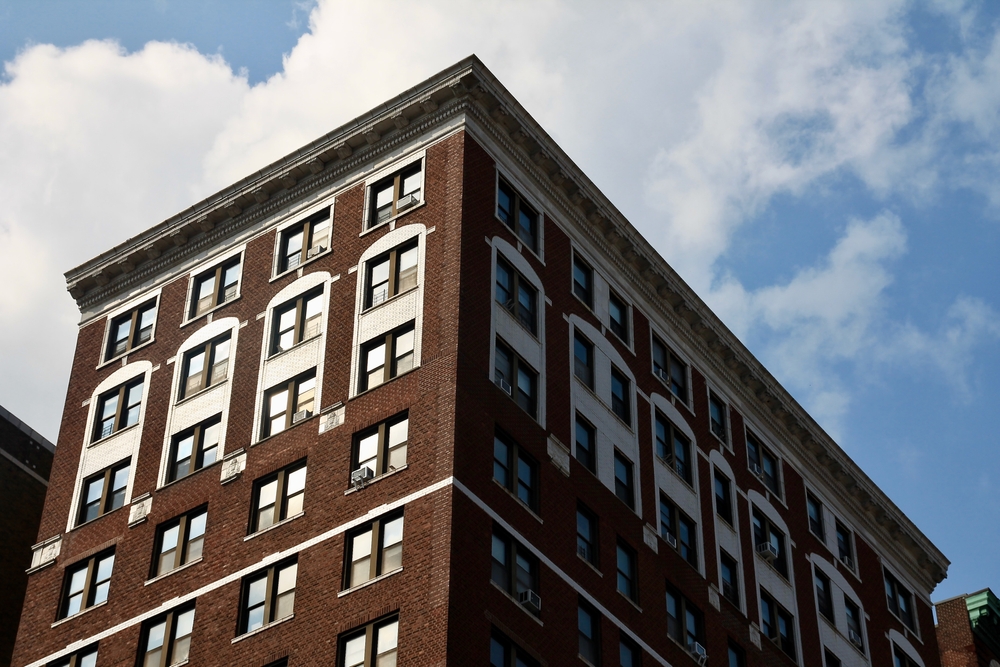
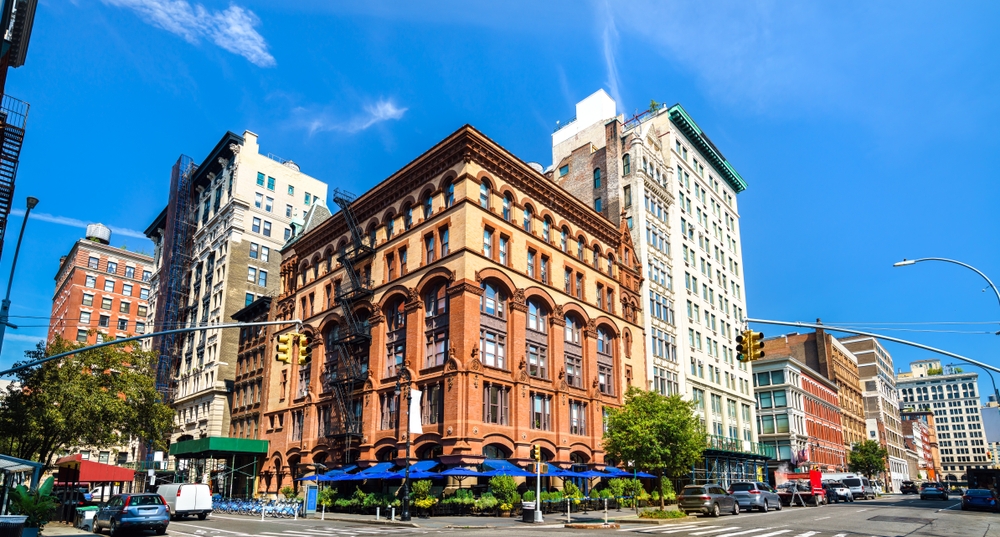
New York City’s historic buildings are part of its charm. Despite the hustle and bustle of the city, it can feel like you’re stepping back in time when you see some of the homes.
However, living in these pre-war and historic buildings can bring its own set of unique challenges, especially when it comes to cleaning. From using the right cleaning products to avoid unintentional damage to dusting hidden spots to improve air quality, there are many things you need to know about how to effectively clean a vintage and historic home.
Below, we’ll cover six common areas you need to tidy up, including products to use to help them shine. By the end, you’ll feel equipped with the knowledge you need to clean your home while protecting its character.
Six Areas to Clean with Care
Think twice before using harsh cleaners, strong pressure, and other more modern cleaning methods on your pre-war home. You may accidentally cause irreparable damage. Instead, here is how you can clean common areas with care to preserve their historic charm.
Preserving Hardwood Floors
Wooden floors are durable. In fact, they can last over 100 years with proper care, so you want to do what you can to extend their lifespan. Otherwise, you’ll have to replace them with something that could completely change the tone of your home.
- Sweeping: Use a soft-bristle broom to prevent scratching. Move with the grain on your floors. Microfiber mop heads and pads can also be used, as they attract dust and pet hair.
- Vacuuming: Some vacuums have settings for bare and hardwood floors. If not, consider using attachments that have soft floor attachments. Don’t use vacuums with rough attachments.
- Washing: In most cases, you only need to use a slightly damp mop to wash your floor. Do not oversaturate it with water to prevent warping, mold, and other damage. There are also cleaners specifically formulated for wood floors. Less is more when it comes to washing your hardwood floors.
As long as you use soft cleaning materials on your floors and don’t use too much water, you can clean them with ease.
Washing Interior and Exterior Walls
Your walls may look sturdy, but that doesn’t mean they can withstand modern cleaning techniques. You should avoid using pressure washers to clean your walls. These are often too strong and can strip the paint, crack, and cause other damage. While it may look cleaner, you may cause significant damage that will lead to costly repairs and replacements.
Instead, consider the materials used to construct the walls and wash them accordingly.
- Masonry: Scrub using a natural-bristle brush and a mixture of water and detergent. You can rinse the wall using low pressure to remove the debris.
- Plaster and Stucco Walls: Start applying a mild soap and water solution to your wall and baseboards with a soft brush or microfiber cloth. Use gentle, circular motions to clean the wall. You can remove any stubborn stains with a 1:1 vinegar and water mix, then use mild soap and water to cleanse the surface.
- Terracotta walls: Because terracotta is a softer material, you want to use a cleaner that is specifically designed for natural stone. A pH-neutral cleaner is best for daily cleaning. Highly acidic cleaners like vinegar and lemon will damage the surface over time.
When in doubt, use water and gentle cleaning solutions to clean your wall and avoid strong pressure and saturating the surface with too much water.
Caring for Vintage Tile
Much like hardwood floors, vintage tile was made to last. However, the natural grooves and surface texture can trap dirt, making them look dingy over time. You may not even know exactly how dirty they are.
To clean them, consider the following steps:
- Remove any dirt and debris. A quick pass with a broom or vacuum can help you start with a cleaner surface.
- Add a few drops of dish soap to water and mix the solution until it’s evenly distributed and you begin to see suds.
- Dip a soft-bristled brush or microfiber cloth into the solution and begin to gently scrub the tiles in a circular motion.
- Remove the excess water with a clean towel. If the tiles are significantly dirty, you may need to scrub them several times.
Don’t use too much water on the tiles when cleaning, and avoid using cleaners that are acidic or abrasive. These can cause damage to the porous surface of the tile and make it easier to crack.
Cleaning Ornate Moldings
Ornate moldings are beautiful additions that can elevate any space. However, their intricate carvings can be easy spots for dirt and dust to hide. This is especially true if they are high on the wall. You can’t see them closely every day to notice the buildup.
Secure a safe way to access the moldings, whether a step stool, chair, or ladder. Using a vacuum or microfiber dusting tool, gently move along the molding’s surface to remove any surface dust.
If you want to wash them, you can use a mixture of water and dish soap or white vinegar and water. Dampen a microfiber cloth and move gently with the wood grain. Once you’re done, immediately dry the surface. You don’t want the water to saturate the molding and drip down the wall. This could cause warping and lead to mold over time.
Plan to lightly dust your molding on a monthly basis to avoid having to scrub down heavy buildup.
Removing Dust from Old Radiators
Even if your home uses a more modern heating solution, there may still be a radiator in your unit. Because of the many coils and compartments, it is a very common place for dust to build up.
You should clean it regularly to prevent dust buildup and improve your air quality. There are steps that you should take prior to cleaning. First, turn it off and let it cool. You don’t want to start cleaning when it’s still hot; otherwise, you may end up burning yourself.
You also need to secure a tool that can easily clean the inside of the radiator. Radiator brushes, flexible dusters, and other cleaning tools can help get into all the nooks and crannies of the radiator. There are also brush attachments for your vacuum that can help suck up any dust.
Take your time and get into every section of the radiator. Consider gently blowing it out with a vacuum as a final step to remove any leftover dust and wipe down the outside of the unit. You can use a water and dish soap mixture, then dry it off with a microfiber cloth.
You do not want to use harsh cleaners or high-pressure cleaning solutions. This can cause damage to the radiator, remove surface paint, and more.
Protecting Drafty Windows
Your windows have a lot of character, so you want to do what you can to preserve them. Before you start cleaning your windows, lay a towel down to absorb any excess water. That will prevent any unintentional water damage and capture some of the dirt and dust.
Cotton cloths and water can give most windows a streak-free shine. If you’re having issues with any stubborn areas, use a mixture of water and mild dish soap. Scrub the area using gentle pressure until the build-up is removed.
Keep in mind that you are living in a historical building, so it may not be possible to remove all the stains. New York pollution may have caused a buildup over the year that may not be able to be removed – and that’s okay! It gives your home that authentic New York look and feel.
When to Call in the Professionals
New Yorkers live busy lives, so it’s important to know when to call in the professionals. Professional cleaners in Manhattan can help you deep clean your historic home while protecting the building’s character.
They can help keep your home fresh and sanitary, using environmentally safe and sustainable cleaning supplies that won’t damage your pre-war building. They understand how to clean delicate surfaces and treat every job with the utmost care.
White Glove Cleaner has extensive experience with all types of homes in New York, and we can fit into any schedule to help you have the clean home of your dreams. Book a cleaning today to see how we can help transform your space, protecting its modern yet vintage charm.