May 30, 2024
How to Deep Clean a Tile Floor: When Your Mop Needs a Backup
Whatever happens in your home, it eventually ends up on the floors. Sure, your trusty mop tackles daily messes, but between pet paws, spilled takeout, and who knows what else, your once-gleaming floors take a beating. Your dark brown (initially white) grout stares at you questioning, “When is the deep tile cleaning day?”
Deep cleaning tile floors is like giving them a spa day. We’re talking about standing on your knees and removing scuff marks, mystery spills, and that hidden dirt lurking deep in the grout to restore its brand-new look. Even the most dedicated New Yorker with a rag in hand might find this job a little overwhelming. At White Glove Cleaner, we understand the headache, and thus, have got you covered with our comprehensive deep tile cleaning walkthrough.
Why can deep cleaning tile floors be tricky?
Tiles might seem a durable surface that can withstand everything, but it’s only the first impression. Some harsh chemicals might leave tiles looking dull or worse, permanently damaged.
Certain types of tile, especially natural stone beauties like marble, can be particularly sensitive. They contain calcium carbonate, which reacts poorly to the acids found in many cleaners.
Think of it like a bad first date – the chemical reaction leaves a permanent mark on the tile surface. This goes for the grout too – it shares that same vulnerability to harsh acidic cleaners.
More resilient tiles like porcelain can handle stronger cleaners. But with so many tile types and cleaning options, how do you know what’s safe for yours? Don’t worry, we’ve got you covered in the next section!
Choosing the right cleaning arsenal for your tile floor battle
Conquering your NYC apartment’s grime doesn’t have to involve harsh chemicals or backbreaking scrubbing. The key is choosing the right cleaning solution for the job, and understanding what works best for your specific tiles.
Chemical cleaners: powerful, but proceed with caution
We all know the cleaning aisle staples – bleach, ammonia, and their powerful ilk. These chemical cleaners are cleaning superstars, tackling stains and disinfecting surfaces with ease.
However, that power comes at a price. These harsh chemicals can irritate your skin, eyes, and respiratory system, leaving you with a headache on top of a dirty floor.
If you do choose to use chemical cleaners, always wear gloves and a mask for protection.
Natural solutions: earth-friendly (but sometimes not tile-friendly) options
Looking for a greener cleaning option? Mother Nature has your back! Natural solutions like baking soda and hydrogen peroxide can be surprisingly effective.
For example, a baking soda and hydrogen peroxide paste can rival bleach when it comes to cleaning and whitening certain tiles and brightening grout.
Vinegar’s natural acidity also cuts through grime and disinfects non-porous tile surfaces (remember not to use it on grout, which is a porous material). These natural solutions are gentler on you and your home, and some can even be diluted with hot water for a double whammy on dirt.
Dry cleaning solutions: for everyday mishaps
Not all cleaning battles require a chemical arsenal. For minor scuffs and spills, a simple dry cleaning solution might be the answer. Believe it or not, a regular pencil eraser can buff out scuff marks without any liquids involved.
Also, a steam mop harnesses the power of heat to deep clean and disinfect, eliminating the need for harsh chemicals or natural cleaners. Its benefit is that steam is safe on all kinds of tiles, which makes steam mops our favorite tool for deep cleaning tasks at White Glove Cleaner.
How to choose the right cleaning tools for deep-cleaning tile floors?
The best cleaning solution depends on your tile type.
- For delicate marble floors, skip the acidic cleaners that can cause permanent damage. Instead, opt for a natural solution like baking soda and hydrogen peroxide, or use a steam mop. Follow the same rule for grout.
Porcelain and ceramic tiles are more forgiving and can handle a wider range of cleaners, from bleach to vinegar.
Benefits of deep-cleaning tile floors
Sure, regular mopping keeps your floors looking passable, but deep cleaning helps unlock their true potential by addressing the unsightly grout discoloration and fading luster of your once-gorgeous tiles. Here’s how:
- Beyond surface-level clean. Mopping tackles surface dirt, but deep cleaning dives deeper. It removes the hidden grime and stains trapped within the pores of tiles and grout, leaving them hygienically clean.
- Healthier environment. Tiles can harbor allergens, dust, and bacteria in their grout lines and textures. Regular sweeping and mopping might make your tiles look clean, but a deep clean ensures they are hygienically safe, contributing to better indoor air quality.
- Longevity of tiles. Dirt and grime can cause premature wear and tear. Deep cleaning removes these abrasive substances, extending the life of your tiles and saving you money in the long run.
- Restoration of original beauty. Over time, tiles can become dull and discolored. White Glove Cleaner’s deep cleaning process can restore tiles to their original luster, making your space look brand new.
- Enhanced property value. Whether you’re considering selling your home or simply taking pride in its appearance, clean tiles can significantly boost the aesthetic appeal and value of your property.
- Time-saving convenience. For busy New Yorkers, time is a luxury. Deep cleaning eliminates the need for backbreaking scrubbing and allows you to focus on other priorities.
Our deep cleaning service utilizes advanced equipment and eco-friendly solutions to remove deep-seated grime from your tile and grout. This professional cleaning goes far beyond what mopping can achieve, leaving your floors hygienically clean and revitalized.
No hidden costs: The service includes all professional-grade cleaning supplies, eliminating the need for you to invest in expensive equipment like steamers or mops.
How to deep clean your tile floors: 7-step walkthrough
- Prepare the area
Just like any good mission, a deep clean requires some prep work. Here’s how to get your tile floors ready for a transformative experience:
- Clear the area. Start by removing as much furniture from the room as possible. This step helps protect your furniture from cleaning solutions and gives you clear access to the entire floor.
- Vacuum up the debris. Thorough vacuuming removes loose dirt, dust, and debris that would otherwise get pushed around by your cleaning solution and possibly leave scratches as you brush the floors.
- Soak your tile floors in a cleaning solution
Now that the launchpad is clear, it’s time to loosen the dirt’s grip. Give your floors a good hot bath. Here’s what you’ll do:
- Mix a cleaning solution of your choice (choose a cleaner depending on the type of your tiles!) with hot water in a mop bucket. The ratio of water to cleaner depends on the level of grime. Heavier soiling requires a stronger concentration. When in doubt, test a product in an inconspicuous place to ensure the chosen solution is safe for your specific tiles.
- Once the solution is prepped and tested, generously flood the floor, ensuring every inch is thoroughly soaked. The soaking time varies depending on the level of dirt, typically lasting between 5-15 minutes.
- Scrub the tiles and grout
With the grime loosened by the hot water soak, it’s time to tackle the dirt with a sturdy brush for tiles and a smaller brush or a toothbrush for grout.
Dip a toothbrush into a cleaning product (it can be bleach, a natural alternative like baking soda and hydrogen peroxide, or a commercial grout cleaner). Scrub it deep into the grout lines, paying close attention to any stubborn stains, and be amazed at how quickly the natural color of your grout gets restored.
For an extra cleaning boost, consider using a magic eraser or a pencil eraser. These provide additional scrubbing power to break down tough buildup. Remember, gentle pressure is key to avoid damaging the grout.

- Mop the floors at least twice
After the valiant scrubbing session, it’s time to rinse away the bubbles. Here’s how to remove the cleaning solution and grime:
- Just like rinsing off shampoo after a shower, thoroughly rinse the floor with clean water and wipe excess moisture away with a mop. Then repeat. This removes any loosened dirt and cleaning solution residue.
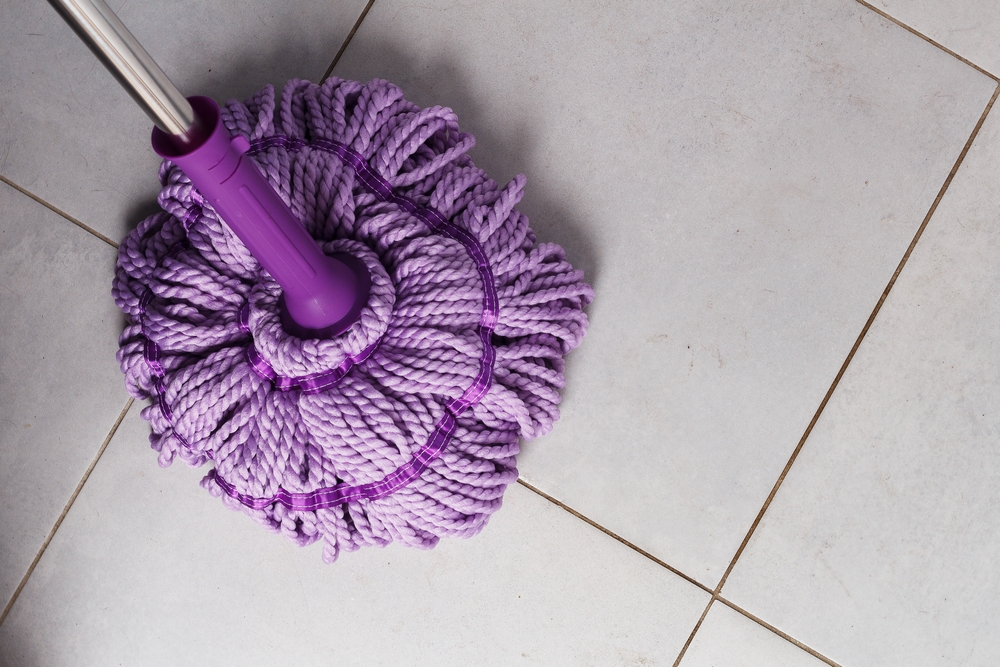
- Use a clean mop and multiple buckets of warm water, ensuring every inch is sparkling clean.
Mopping also serves as a final inspection. As you rinse, keep an eye out for any missed grime or stubborn stains that might require additional attention.
- Dry tiles before walking on them
The final step is to banish any remaining moisture. Moisture can leave water spots and hinder the cleaning process. Here’s how to ensure your tiles are sparkling and dry.
We use a clean, dry mop or rag to remove any excess water from the floor.
Alternatively, an electric fan can be used to accelerate the drying process.
Remember, it’s crucial to allow the floor to dry completely before walking on it again. You don’t want to trade grime for a fresh set of shoe marks!
When is it time to deep clean with the pros?
Whether it’s your home tile floors or commercial office floors, elbow grease is always elbow grease. Restoring your tile floor through deep cleaning will cost you energy, tons of time, and, of course, money on cleaning supplies and equipment. So why not skip the sweat and save yourself the hassle? Let White Glove Cleaner bring the shine back to your floors!
