May 3, 2023
Post-Construction Cleaning Tips
Post-construction cleaning isn’t just dirtier than regular cleaning, as many people might think. It’s an absolutely different cleaning task that requires different equipment, supplies, and methodologies. After all, you are not dealing with a usual mess. Contractors usually leave the site littered with leftover materials, sharp nails, wood and metal chips, wires, paints, and packaging. Not to mention all that ubiquitous dust from sanding, tiling, and drywalling, which gets into the tiniest crevices around the house. This is not a regular cleaning task, for sure!
Whether you decide to handle post-construction cleaning on your own or cut corners with a professional service, we are willing to help you and explain what it will take you. Read our expert advice to make post-construction cleaning as painless and safe for you as possible.
What does post-construction cleaning include?
You may be proud of your stupendous remodeling or construction project although the mess it produced can be just as stupendous. Of course, the amount of cleaning depends on the type of remodeling or construction work you had. Sometimes, it is limited to one or two rooms or even a part of the room if you, for example, had your kitchen remodeled or a bathroom renovated. Or, you may have little to no dust at all if you just had your walls painted. However, construction dust often gets into the air vents and pollutes the whole house. You don’t even realize how serious everything is until you slightly disturb a surface, and the air gets hazy with dust.
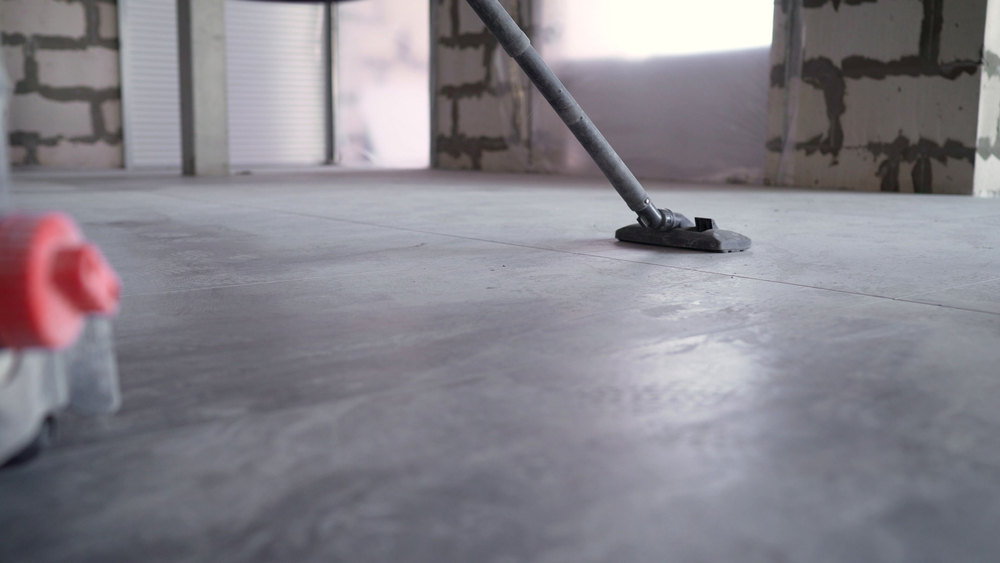
So, post-construction cleaning requires thorough vacuuming of all surfaces, such as windows, floors, shelves, cabinets, light fixtures, walls, air vents, window/door tracks, and crevices, followed by wet cleaning of all surfaces that tolerate water. Such a process allows you to get rid of dust totally and make your new or renovated home a healthy place for living.
Post-construction cleaning timeframes
You can start post-construction cleaning right after the construction crew leaves the site. These guys may or not do some light cleanup by piling the materials and sweeping the floors, but they aren’t up for anything beyond that, and that’s fine since it is not their job. When deciding on the best time to start your post-construction cleaning, keep in mind this:
- Very often, a post-construction cleaning is not a one-time cleanup but a series of cleaning iterations made until the house is ready for the move-in. If you handle it by yourself, it can take you days, not hours.
- Dust that was disturbed during cleaning and got into the air needs time to settle, so chances are, you will need to have a final light cleanup (vacuuming and dusting) one more time before moving in.
- Depending on the type of construction project, you may need several rough cleanups during the construction followed by one thorough post-construction cleaning.
Post-construction cleaning tips
1. Embark on it only if you have the materials required
When getting ready for the post-construction cleaning, you ought to ensure you are prepared for it both safety- and cleaning-wise. Firstly, protect your hands and feet when working with sharp objects such as broken glass or nails by wearing heavy-duty rubber gloves and a pair of rubber boots. Invest in good protective glasses and a dust mask to secure your eyes and lungs from toxic paint fumes and dust. Visit the construction site in advance to make a list of supplies you may need.
As for the cleaning supplies, you will need a shop vacuum cleaner because a regular household vacuum is too weak for the task and may not survive the cleaning. So if you find renting or buying a shop vac too expensive, consider having The White Glove Cleaner do the post-construction cleaning for you in New York City because we don’t charge separately for professional cleaning equipment we use. We also won’t charge for cleaning supplies you would need to buy otherwise:
- buckets
- mops
- sponges, brushes, microfiber cloth, scrub pads, etc.
- trash bags
- cleaners for different kinds of surfaces (a window cleaner, wood cleaner, stainless steel cleaner, floor cleaner, carpet cleaner, disinfectant, grout remover, etc.)
2. Keep windows open while cleaning
Let the fresh air in before you start cleaning. The air stream will blow the paint fumes and dust out of the house, plus working with cleaning supplies will be more bearable. So, if it is safe for you and if it isn’t freezing cold or boiling hot outside, you are better off cleaning with open windows.
3. Collect and sort construction debris
Depending on the nature of the construction work, you may find different sorts of leftover construction materials and debris that must be collected and sorted according to the type of material. You may have wood chips, iron filing, wires, screws, nails, glass, cardboard, paint containers, brushes, tarps, dirty working clothes, and even cigarette butts. Prepare heavy-duty trash bags for different kinds of trash you will dispose of later responsibly. Sweep the floor to remove larger debris and prepare it for vacuuming.
4. Move from top to bottom
Your cleaning efforts should be directed from top to bottom because this is the direction the dust settles. There is no point in cleaning the floors until the ceiling fixtures, walls, and baseboards are clear of dust. If you clean randomly, chances are you will have to do the same job twice. So start by vacuuming the light fixtures (including the bulbs) on the ceiling and move down, paying attention to window and door frames and crevices, window treatments, blinds, wall lights, vertical surfaces, cabinets, and baseboards. Ensure you vacuum your air ducts and vents properly because this is what people usually overlook and what can cause issues down the road if dust or small construction debris gets into the HVAC system.
After that, do a wet cleaning on surfaces that tolerate it, following the same direction. Don’t forget to turn the electricity off when cleaning the lights. Finally, vacuum the carpets (and shampoo them if needed), roll them up, and vacuum or (and) mop the floors.
5. Cheat the dust
Dust soars into the air immediately when disturbed, so if you notice the indoor air getting cloudy, postpone further cleaning until the dust settles. Continue cleaning in another room or take a deserved break. As long as the dust soars, cleaning is as pointless as clearing the snow from your driveway in heavy snowfall. Come back to work after the dust settles and try to clean as accurately as possible.
6. Restore the luster of your windows
Construction has a heavy toll on windows, covering them with a thick layer of dust. It happens even if they are new windows that just have been installed. Remove the stickers from the glass and frames and vacuum the frames, windowsills, and tracks. If dirty, wash the window frames and glass with a microfiber cloth soaked in slightly soapy, warm water to remove grime. Let the window dry a bit and finalize cleaning with a window cleaner with a streak-free effect. To remove dirt from wooden windowsills, consider using a wood cleaner to avoid damaging the polish.
7. Dispose of waste properly
Construction projects often leave us with tons of construction waste we cannot just throw into our regular trash tanks outside. For example, it can be an old ceramic sink, a bathtub, paints, or bricks you have no idea how to dispose of. You will have to search for Special Waste Drop-Off Sites in New York, and transportation is on you, of course.
Waste disposal and cleaning supplies costs add up fast if you handle post-construction cleaning by yourself. So hiring a post-construction cleaning service doesn’t seem that expensive considering that it saves you some dollars you would otherwise spend on waste disposal and supplies. But above all, it guarantees top-notch cleaning results, so you can enjoy a seamless and stress-free moving-in and a fresh start on your new (or renewed) place. You have been waiting for it for so long!